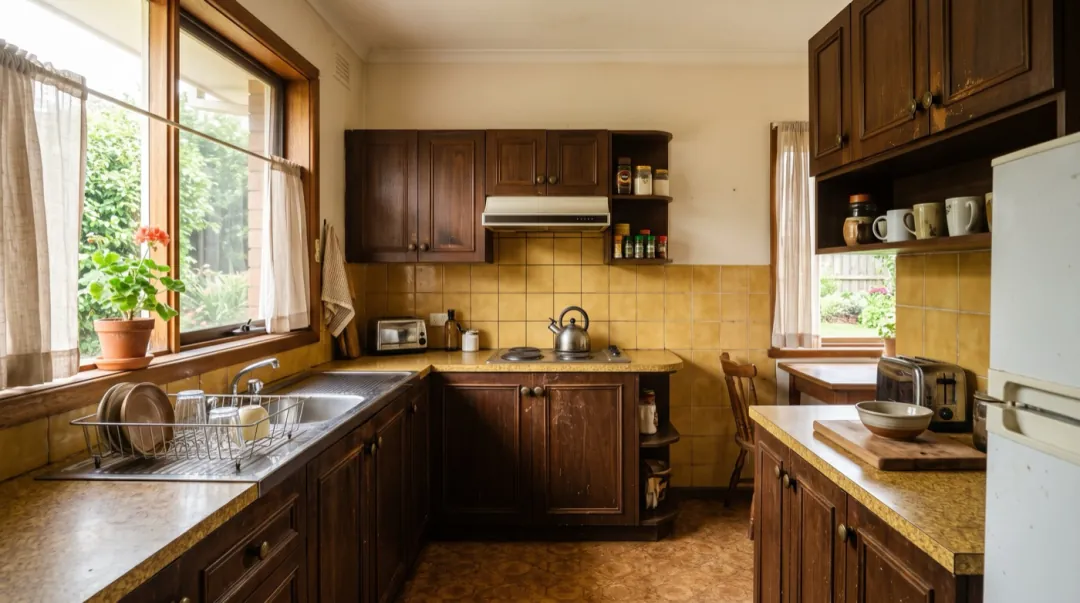
A listing with video gets watched longer than a gallery of stills, and buyers scrolling a feed stop for motion. Most agents already have good photos of every room; what they lack is the time and budget for a videographer on every listing. A slow camera move over each photo, cut together, gives a walk-through feel from the pictures you already have.
The catch is that a property video has to show the property. A model that adds a window, widens a room or invents a garden is not making a nicer clip, it is misdescribing a home. This guide is about getting motion without that.
- Animate the wide, bright, level photos: kitchen, living room, front, best view.
- Ask for slow camera moves only. Nothing in the room should change.
- Watch every clip for added or changed features before you publish.
- Five seconds per room, cut together, makes a 20 to 30 second tour.
Which listing photos to use
The photos that make the best clips are the ones a photographer would already lead with: wide, bright, shot at chest height with straight verticals. Those give the camera room to move without the model inventing what is just outside the frame.
- Wide rooms with depth. A kitchen island or a sofa in the middle gives a push-in something to move toward.
- Straight verticals. Leaning walls start to bend once the camera moves.
- Lights on, blinds open. Dark corners are where the model fills in detail.
- No people, no pets. They move when you did not ask them to.
- Skip the small rooms. A narrow bathroom has nowhere for the camera to go; keep it as a still.
Slow moves only
Every prompt in a property video should be a camera move and nothing else. A slow push-in for rooms with a centre, a slow pan for long rooms, a rise for the outside. Keep "slow" in every prompt: fast moves blur detail and make rooms feel smaller.
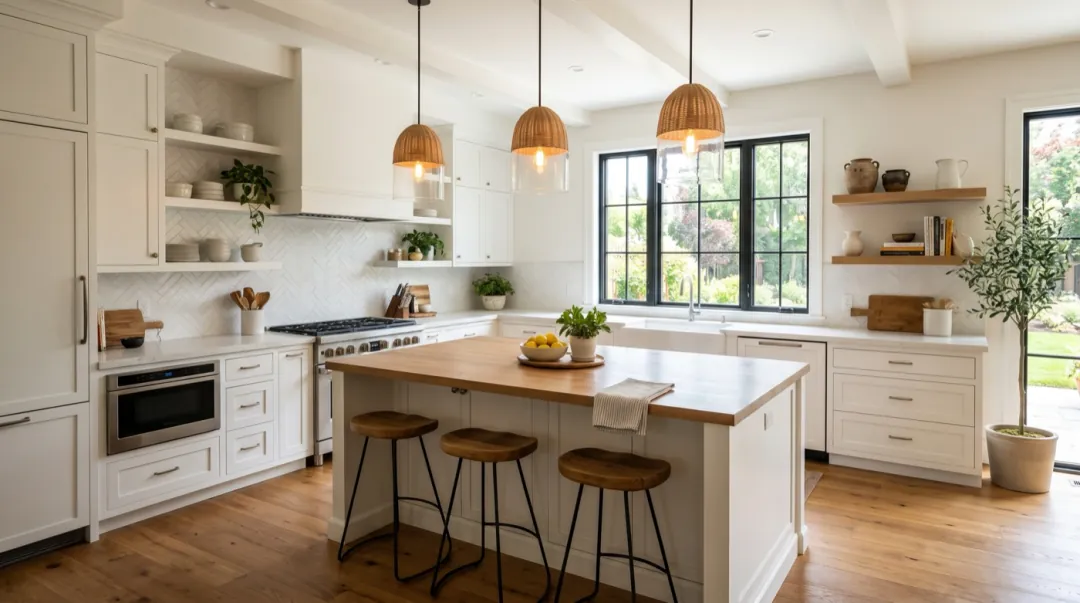
Slow push-in toward the island, light shifts gently. One continuous shot, no cuts, natural physics, stable faces and hands. Keep the first frame’s faces, clothes and light.
Slow pan across the room to the windows. One continuous shot, no cuts, natural physics, stable faces and hands. Keep the first frame’s faces, clothes and light.
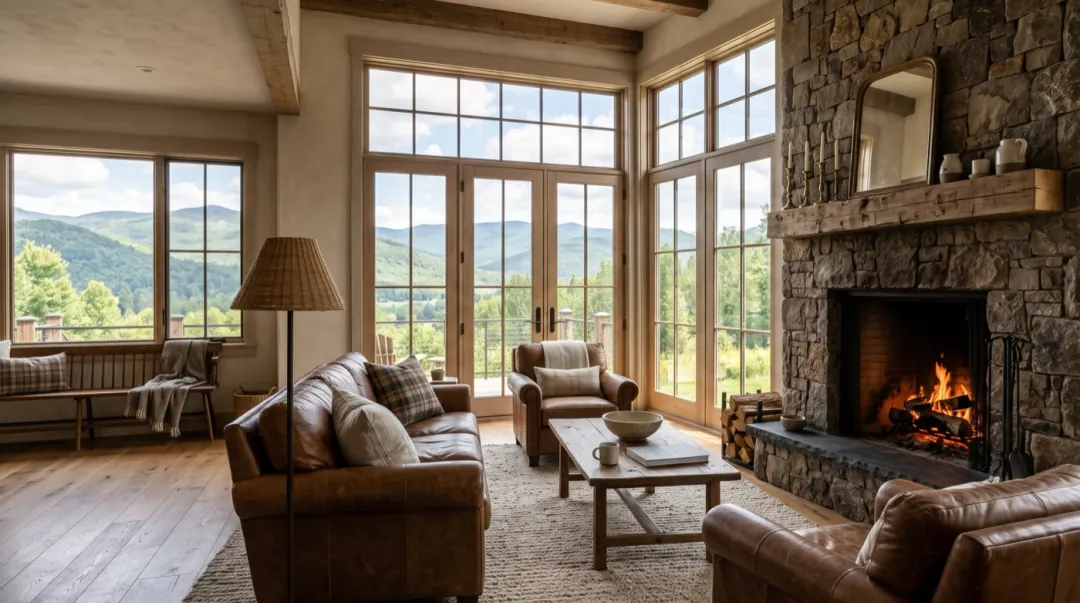
Notice that a pan shows less of the room by the end than the photo did; here the fireplace leaves the frame. If a feature is a selling point, start the pan on it, or use a push-in that keeps it in view.
The camera rises slowly to show the roof and the street. One continuous shot, no cuts, natural physics, stable faces and hands. Keep the first frame’s faces, clothes and light.
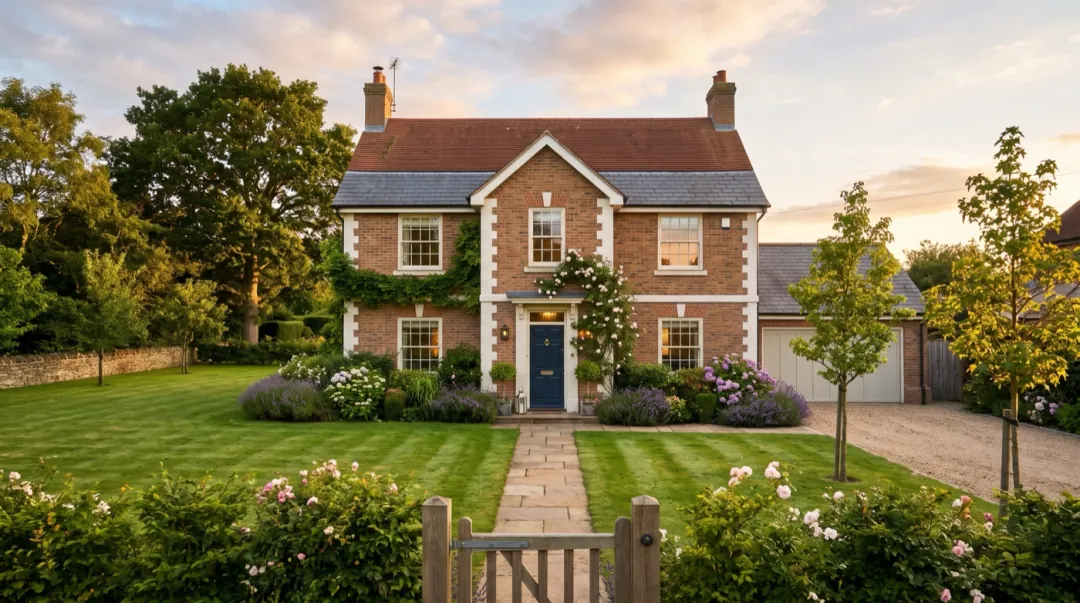
We asked for the roof and the street; the clip shows the garden and the garage more than the street. For the front of a house, a rise works because it reveals what is already in the photo. Ask it to show something outside the photo and the model has to invent it, which is exactly what a listing cannot have.
All three clips were made on Seedance 2 Mini at 480p for five seconds. For a listing you will publish, rerun the keepers at 720p or put them through the video upscaler.
Never show what is not there
A property video is part of the listing. Before you publish, watch each clip and compare it with the photo: windows, doors, room size, finishes, the view and the garden. If anything was added, removed or changed, do not use that clip. Many markets have rules on misleading listing media, and a buyer who visits will notice.
- Ask only for camera moves. No "sunset through the window", no "fire in the fireplace" unless it is real.
- Do not edit the photo into a nicer home first. Virtual staging, if you use it, needs to be labelled as such.
- Keep the light honest. "Light shifts gently" is fine; turning a north-facing room golden is not.
- Check the view. Out-of-frame views are the most common thing a model invents.
Putting the tour together
- 1Pick four to six photos in walking order: front, entrance, living, kitchen, best bedroom, garden or view.
- 2Make one five-second clip per photo, all in the same shape (wide for the portal, tall for social).
- 3Check each clip against its photo for changed features.
- 4Cut them together with a short fade, and add the address and price as text in your editor.
When a room looks wrong
| What you see | Why | What to change |
|---|---|---|
| Walls bend as the camera moves | Leaning verticals in the photo. | Straighten the photo first, or use a push-in instead of a pan. |
| A window or door appears | The camera moved past the edge of the photo. | Use a shorter, slower move that stays inside the frame. |
| The room looks smaller | A fast move or a tight start. | Start from the widest photo and add "slow". |
| Objects slide or melt | Busy surfaces with many small things. | Use a tidier photo, or ask for the camera to move less. |
FAQ
Can I turn listing photos into a video?
Yes. Add each photo, ask for one slow camera move such as a push-in or a pan, and cut the clips together in walking order.
Will the AI change the rooms?
It can, especially when the camera moves past the edge of the photo. Ask for slow moves only and check each clip against its photo before you publish.
Which camera moves suit property videos?
A slow push-in for rooms with a centre, a slow pan for long rooms and a slow rise for the front of the house.
How long should a property clip be?
Five seconds per room. Four to six rooms cut together make a tour of 20 to 30 seconds.
Can I add things like a lit fireplace or a sunset view?
Only if they are real. A listing video shows the property, and adding features it does not have misleads buyers.