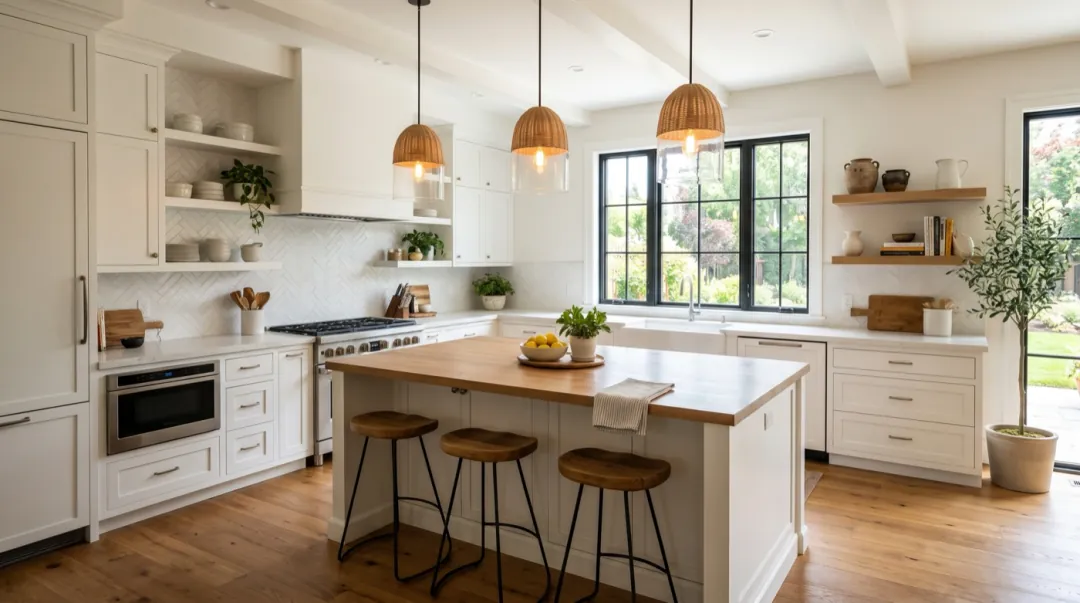
With two photos instead of one, you tell the model where the clip starts and where it ends, and it fills in the motion between them. That is how before-and-after clips are made: a room before and after a renovation, a haircut, a cake from batter to finished, a garden through the seasons. The tool for it is Frames to Video. This guide is about the part the tool cannot do for you: picking or making two frames that pair well.
- Both frames need the same angle, framing and light. Only the subject should change.
- If you only have the "before", make the "after" with an image edit of the same photo.
- Tell the model how to get from one to the other and to keep the camera still.
- The bigger the change, the more the middle of the clip is invented.
Match the angle and the light
The model has to turn one picture into the other in a few seconds. If the camera moved between the two shots, it has to move the camera too, and it has to change the subject at the same time. Doing both at once is where transitions turn into a wobbly morph. If the camera did not move, the model only has the change to work out, and that is something it does well.
- Same spot, same height. Mark where you stood, or use a tripod and leave it in place.
- Same framing. Same zoom, same crop, same shape (both tall or both wide).
- Same light. Same time of day and the same lamps on. A sunny "after" and a dull "before" make the light jump.
- Same subject size. A face that is twice as big in the second photo makes the model zoom.
- Only one thing changes. The haircut, the cabinets, the season. Everything else should match.
Make the end frame with an edit
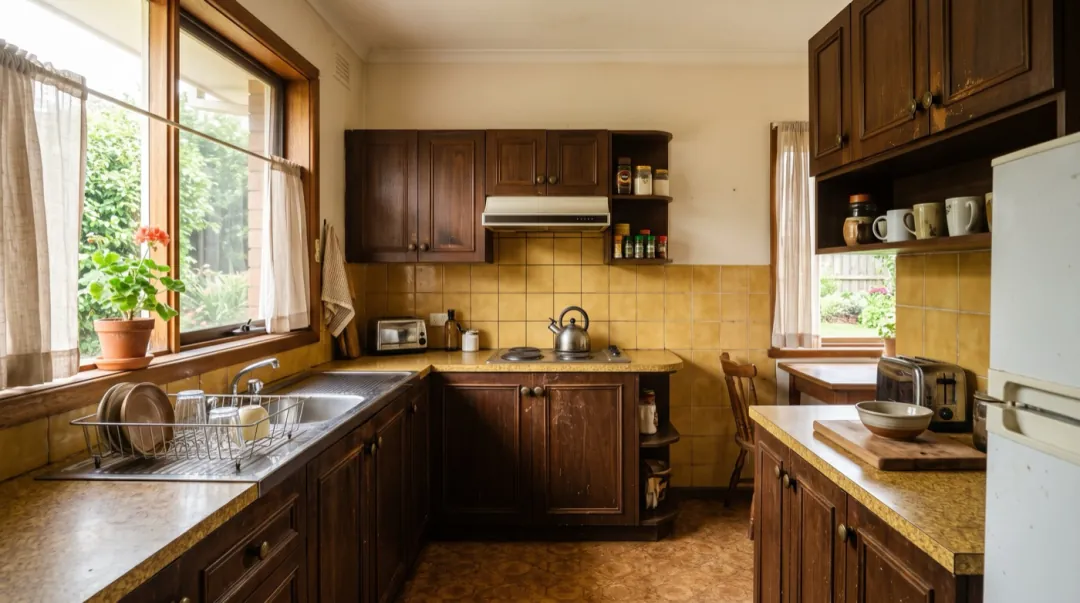
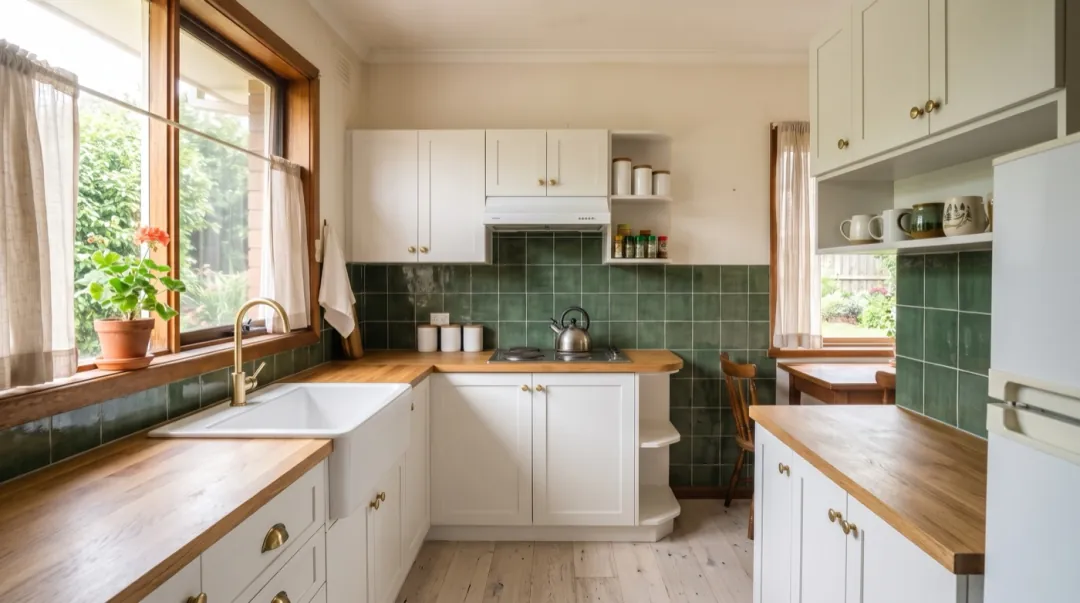
Most people have the "before" and not the "after", or the two real photos were taken from different spots. The way around both is to make the end frame from the start frame with an image edit. Because the edit starts from your photo, the angle, framing and light already match. You only describe what changes.
- 1Open Image to Image and add your "before" photo.
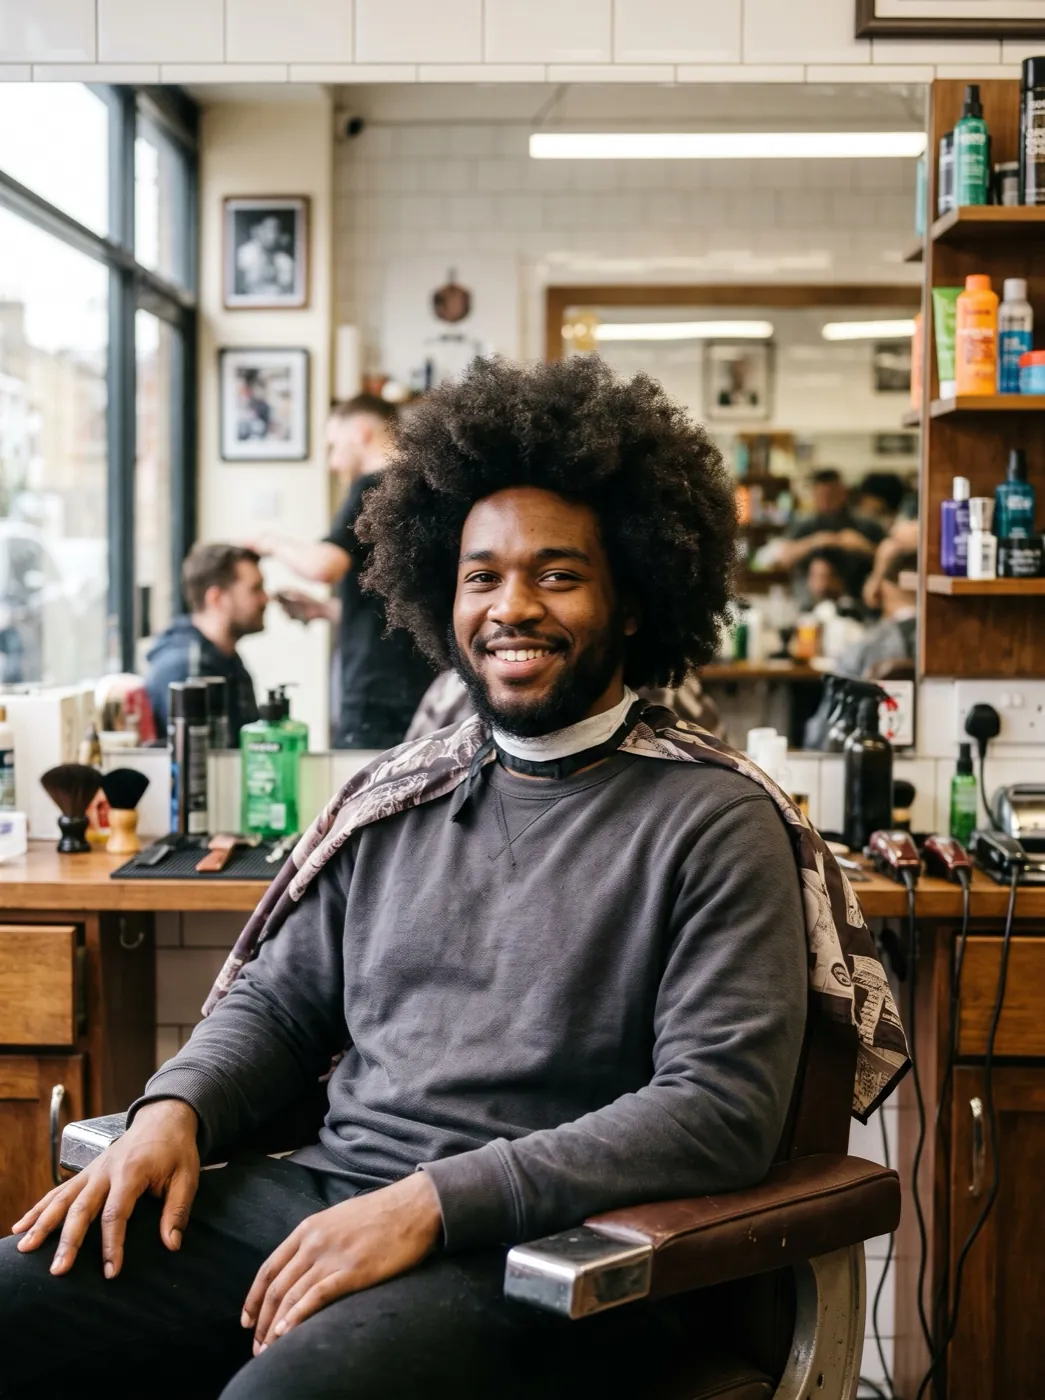
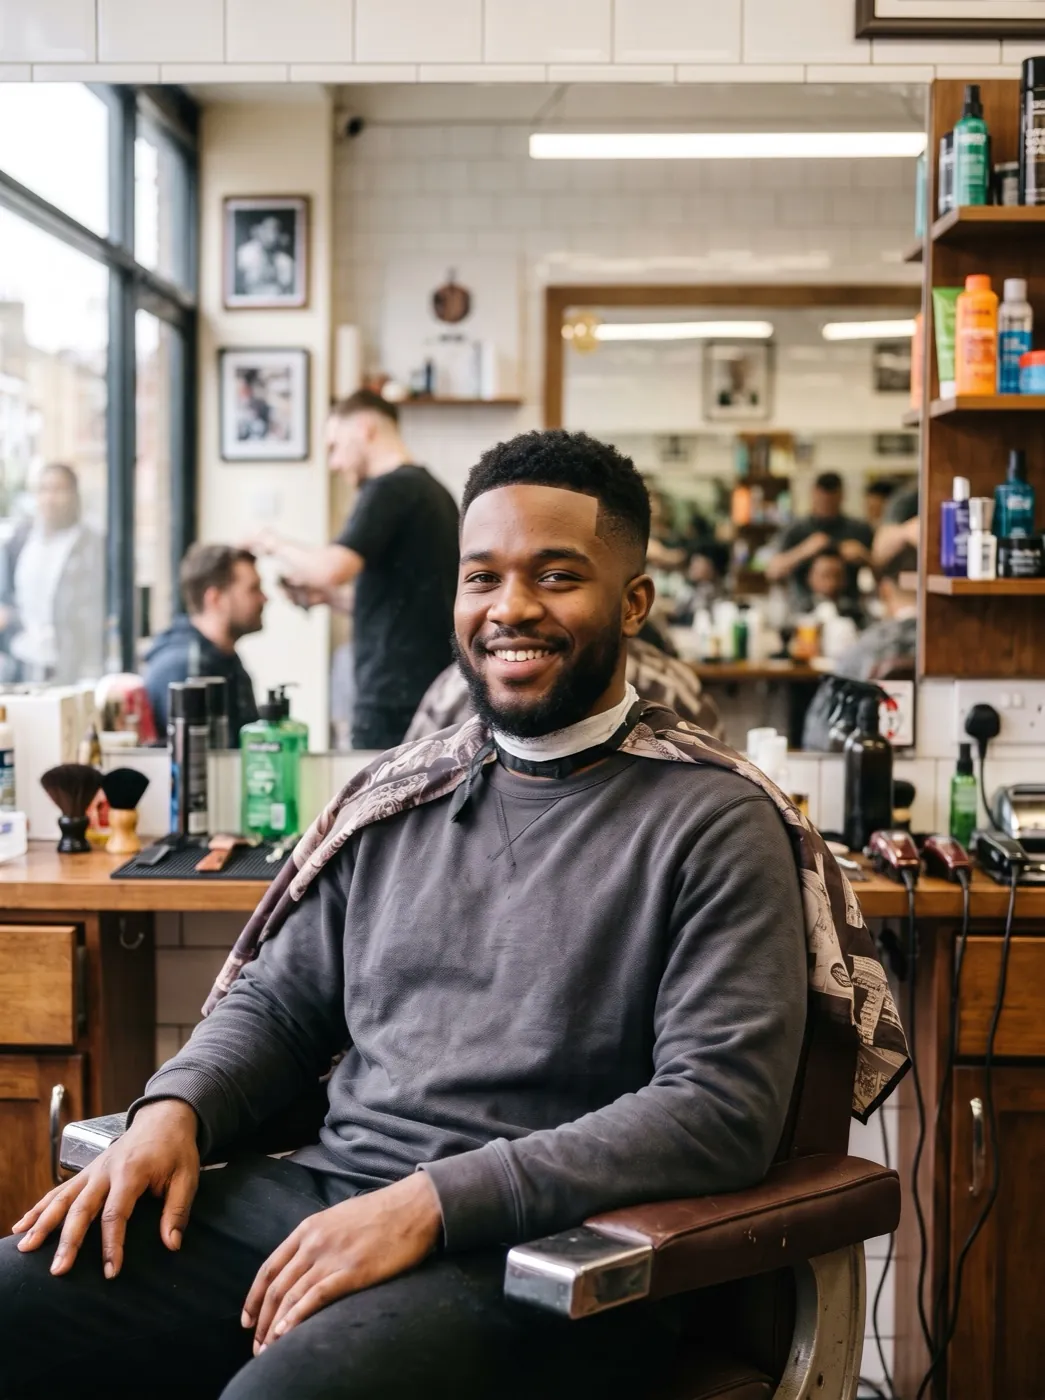
- 2Describe only the change, and say what stays: "The same man in the same barber chair and pose with a fresh skin fade and a sharp line-up; same mirror, same light."
- 3Check the result against the original. If anything other than the change moved, run the edit again.
- 4Download it. That is your last frame.
Both end frames on this page were made that way, from the start frame, in one edit each. An image edit costs a few credits, far less than a video run, so it is worth getting the end frame exactly right before you animate.
Say how to get from one to the other
With both ends fixed, the prompt only describes the journey. Name the thing that causes the change, if there is one, and the kind of change: a smooth time-lapse, a quick cut of the clippers, a slow fade. Add "camera stays still" so the model does not move the camera to fill time.
The barber’s clippers sweep past and the haircut finishes in one smooth move, camera stays still. One continuous shot, no cuts, natural physics, stable faces and hands. Keep the first frame’s faces, clothes and light.
The kitchen renovates itself in a smooth time-lapse, camera stays still. One continuous shot, no cuts, natural physics, stable faces and hands. Keep the first frame’s faces, clothes and light.
Both clips were made on Seedance 2 Mini at 480p for five seconds. Five seconds is plenty for a before-and-after; longer clips make the middle drag.
Pairs that make good clips
| Pair | How to get the second frame | Prompt shape |
|---|---|---|
| Room before and after | Edit: same room, new cabinets or paint | The room renovates itself in a smooth time-lapse, camera stays still. |
| Haircut or makeover | Edit: same person, new hair or makeup | The stylist works and the new look appears, camera stays still. |
| Day to night | Edit: same street at night, lights on | Time-lapse from day to night, lights switch on. |
| Seasons | Edit: same tree in winter | The leaves fall and snow settles, camera stays still. |
| Sketch to finished | Your sketch and the finished piece | The drawing fills in with colour stroke by stroke. |
When the transition looks wrong
| What you see | Why | What to change |
|---|---|---|
| The whole frame warps in the middle | The two frames were shot from different spots. | Make the end frame with an edit of the start frame. |
| The light jumps | Different time of day or different lamps. | Edit the end frame to match the light, or reshoot. |
| The camera zooms or drifts | Subject size differs, or no camera words. | Match the framing and add "camera stays still". |
| A face changes into someone else | A big change on a person, such as age or weight. | Keep the change smaller, or use a model that holds faces. |
FAQ
How do I make a video from two photos?
Open Frames to Video, add a first and a last frame, write one line on how to get from one to the other and press Generate. The model fills in the motion between them.
Do the two photos need to match?
The closer they match in angle, framing and light, the smoother the clip. Ideally only the subject changes between them.
I only have a before photo. Can I still make a before-and-after?
Yes. Make the after photo with an image edit of the before photo, describing only the change. The angle and light then match automatically.
How long should a transition clip be?
Five seconds is usually enough. Longer clips give the model more of the middle to invent, which can make it drag or wander.
Why does the middle of my transition look strange?
The model is inventing the in-between. Big changes and mismatched frames make that harder. Match the two frames and keep the change to one thing.